While in between projects yesterday, I decided to put my crafty skills to use. I wanted to make a wreath for my door for Christmas, but time got away from me, and it just never happened. I decided to make one that I could use the rest of the winter.
This wreath is definitely at a beginner level, it just takes a little time.
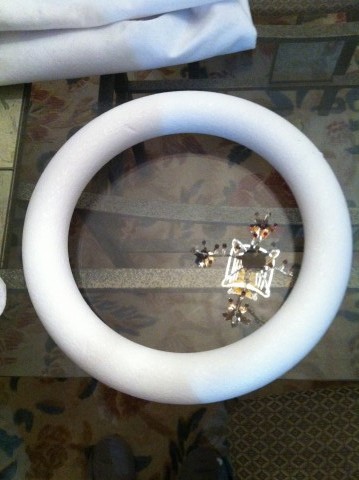
Here is what you need: 2 yards of felt material I used white, but you could use any color. I got mine at Hancock Fabric and uploaded their 50 % off coupon onto my phone to use. A foam wreath (you could use any size but I used a 14 inch) — this cost about 7.99 at Michaels, but I used the 50% off coupon in Sunday’s paper, so it wasn’t too bad.
A box of pins (you need the ones with the heads on them). I would try to match the head of the pins to the color of the material you are using so you don’t see them. I used a 250 count box.
 You also need some ribbon to hang it from. You could use anything you have on hand, or right now Michaels has tons of ribbon at 70% off.
And that’s it. Very few items needed … which is what I like. I hate to make a craft project that ends up costing me $50 bucks.
Step 1: You start by making 3 inch circles out of the felt.
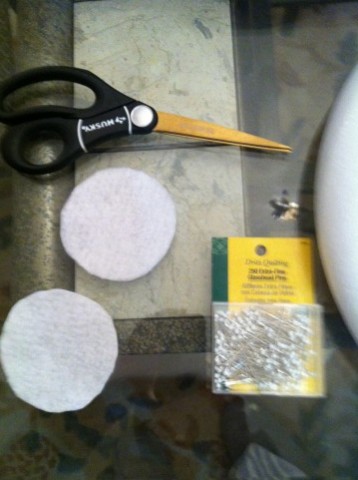
I had a drinking glass that was 3 inches around, and I traced that to make my first one. Then you cut A LOT more. This is the tedious part. I was luck — my unnamed daughter had a friend staying the night, so they just took the material into her room and cut away for me. I know it’s child labor, but I did take them shopping all day, so I think it was only fair. If you don’t have teenagers to cut for you, it is a perfect mindless task to do while watching TV.
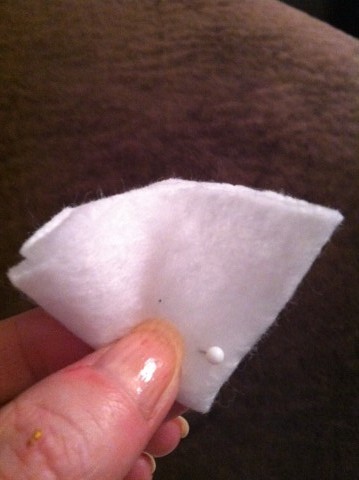
I then took a circle and folded it in half.
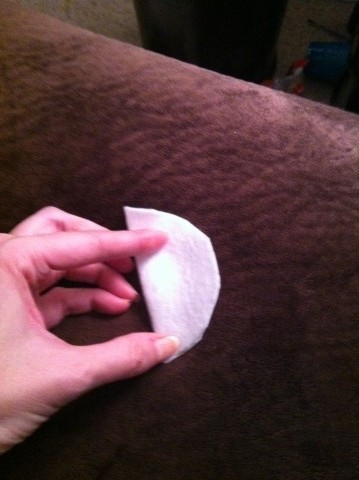
Then you fold it in half again so it is in fourths.
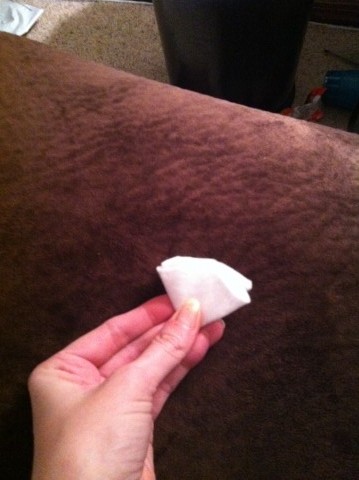
You then take a pin and stick it through the bottom, and then attach it to your wreath.
You keep doing this, one butted up right next to the other, until the whole wreath is covered (just the front not the back).
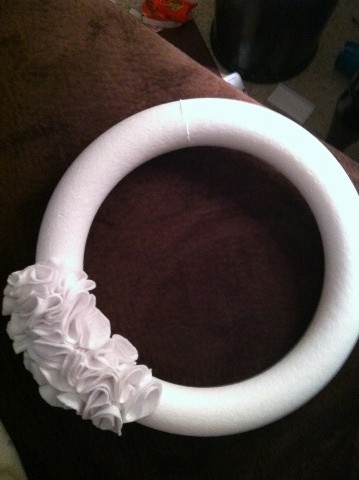
There is really no right or wrong way to do this. Just get them close enough together so you can’t see the pins, and cover it with enough circles that you can’t see the wreath form. I kind of fluffed them a bit as I went but that is it.
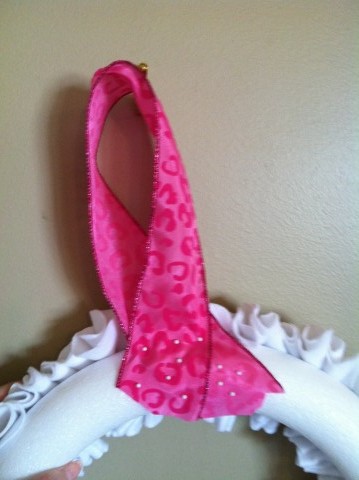
Once you have the whole wreath finished you take a piece of your ribbon. I can’t really give you a length on this because it’s up to you on what height you want it to hang at. I made a loop and crossed the ends and stuck in a bunch of pins to secure it. Now it might look a bit better if you used a hot glue gun to secure the ribbon. Since it was on the back and no one was going to see it (and it was eleven o clock and I was too lazy to get out the glue gun) I just used the pins.
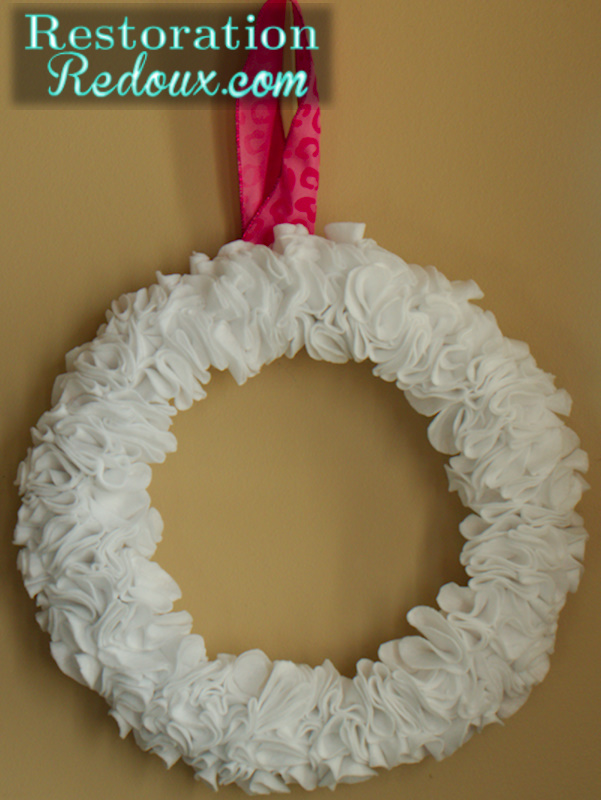
That’s all there was too it. Super easy.
It did take me about two hours to complete, but like I said, I just pinned on circles while watching Christmas in Connecticut.
I used the pink ribbon since Valentine’s Day is coming up, but you could use this wreath year round and just switch out the ribbons according to the holiday or season.
Now normally, I wouldn’t have this wreath hanging on my wall but since Topher had already gone to bed, I knew hanging it on the front door would have to happen another day.
I hope I explained this clearly, if you have any questions shoot me a comment down below. Happy cutting!
Leave a Reply