A few weeks ago, you saw my new kitchen curtains. The two windows right beside suddenly looked a lot more naked, and I didn’t like it. I love the view from our kitchen table, but I didn’t like it so stark.
I decided I wanted some valances that matched the curtains, and Topher finally agreed after weeks of pleading volunteered to do it.
This is Topher’s recount of the project:
Overall, building a couple of valances to hang over our naked windows wasn’t too difficult. If you want to try it at home, for the absolute minimum, all you’ll need is wood, a saw, and some paint. For my project, I used a sheet of plywood, a scrap piece of plywood, my jigsaw, my table saw, the 4′ level (for a straight edge), and a 5′ section of PEX piping.
Since I’m somewhat “type-A” when it comes to projects, I draw-out everything I do beforehand. A while ago, I found this great web site that allows you to print your own graph paper to whatever sized grid you want. Super handy if you doing anything with 4×8 sheets of wood — it really gives you a grasp of how to lay out your cuts while they’re still erasable. I also used it to map the area of my house for our hardwood flooring, laying out the backyard dimensions for our ceder fence, and determining supply needs for a bedroom/bathroom build in the basement.
Then we needed to make some decisions: 1. What shape did we want the valances (boxed, arced, notched — Pinterest is great for ideas)? 2. How tall did we want it at the tallest point? 3. How narrow did we want it in the middle? 4. How far out did we want it to protrude from the wall?
The first “real” step was a trip to Lowe’s for the plywood. For this project, we used 1/2″ pine. While at the store, we asked them to cut it down to 52″ — the length I need it in order to extend two inches past the outside part of the window sill.
Once we had this established, we drew a template on the wood. The image below shows the center line, the tallest point, how far from the outside we wanted to go before the arc started, and the most narrow point (I’m not worried about the marks since we’ll upholster over it later).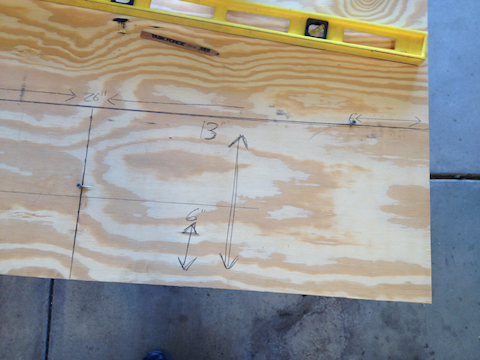
Since I’m horrible at drawing straight lines, I screwed-in a few place holders, grabbed some scrap plastic pipe, and traced the arc.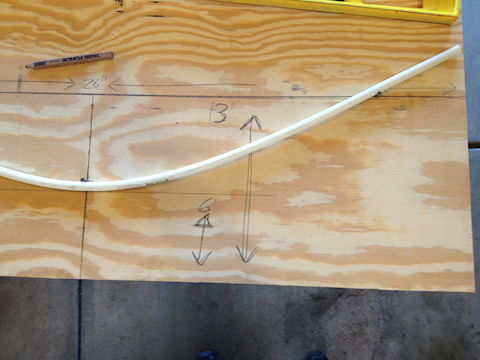
Once I had the piece cut out, I flipped it over and used it as a template for my second valance.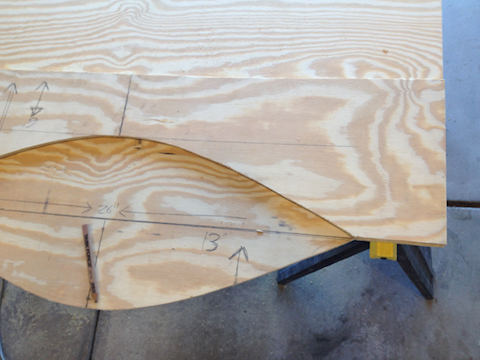
Then I glued and nailed the sides into place. For the sides, we decided on a 2″ width, so I used some scrap 1″ plywood and my table saw to cut the wood down to the correct width and length. I let these set overnight to allow the glue to dry.
Also, this photo shows an annoyance I have working with plywood — it likes to splinter. Thankfully, none of this will show; however, if you’re constructing a valance that’s going to be painted and not upholstered, then you may want to invest in higher quality wood or quality saw blades.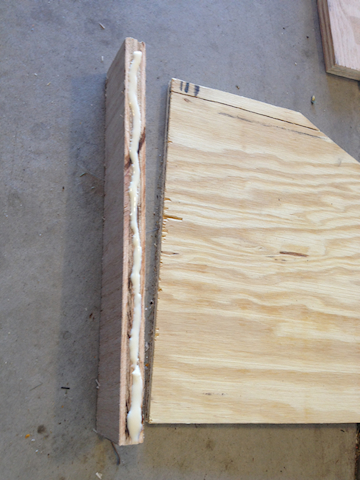
With the frame finished, we wrapped it in batting to give it a little gooshiness. Once again, we utilized some scrap laying around from other projects, so if you look closely, you might see three layers of thinner material. All-in-all, it came out to about 3/4″ thickness.
The process for securing this was relatively simple. You start in the middle and work your way toward the outside. I alternated as I went, stapling a few inches along the top, and then the bottom, then the top, bottom, etc. Once it was complete, I trimmed the excess and moved on to the material.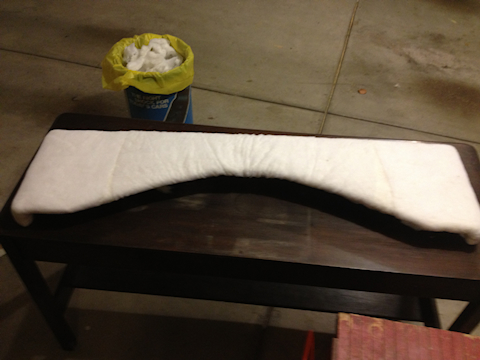
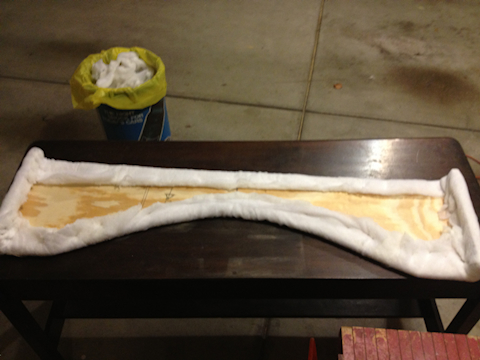
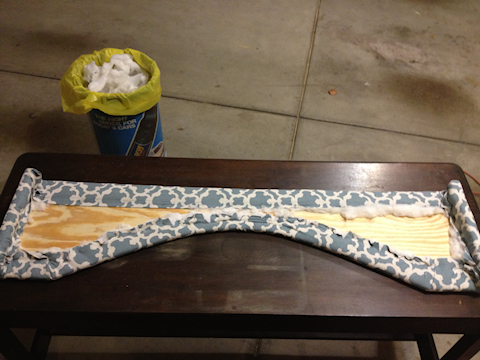
Securing the material was a little more complicated. There was ZERO give in the fabric, and I had a horrible time getting it to lay flat across the front. I finally did a little research and decided to try a tip I read, so I cut slices into the backside of the fabric around the arc. This made a tremendous difference, and it was easy going after that. Same process as above, but with a lot more care. Once I was pleased with the outcome, I trimmed the excess.
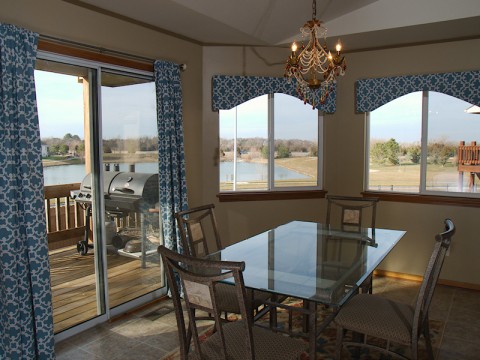
Here’s the finished product:
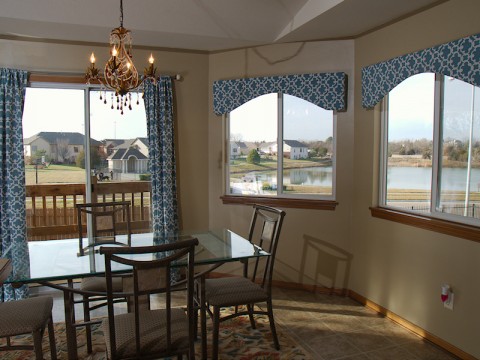
Your valances look beautiful! A professional who charged an arm and a leg couldn’t have done a better job!
The valances really tie the room together. Great job Shanna and Topher!
I appreciate the idea of using the pipe and nails to draw an arc. Also, as simple as this idea seems it might be, it’s helpful to see the steps all laid out. Thank you for your words and photos.
Great write-up! Out of curiosity, how did you mount the valances to the wall?
Good question. All assembled, the valance only weighed about 4 pounds, so I just used your typical picture hanging gear. I attached one of the small, steel, D-shaped hoops to each end’s backside and then hooked it onto the wall. Nothing too crazy, but it works great!