Friday is almost here! I’m excited … and super nervous because my house is going to be part of the Halloween Blog Tour!
15 other bloggers, and myself, will be letting you tour our homes to see our most Spooktacular Halloween decor.
I am pretty proud of how most of my house looks right now. Notice I say most, that is because all of the rest of our junk, not in the rooms being photographed, has been stuffed into the office. You know the cartoons where the characters cram so much stuff in the closet and then someone opens the door and it avalanches on top of them? Well that is the reality of my office right now. It could seriously kill you if you open that door too quickly.
Since we still have one day until my tour, I thought I would give you a sneak peek at one of the projects.
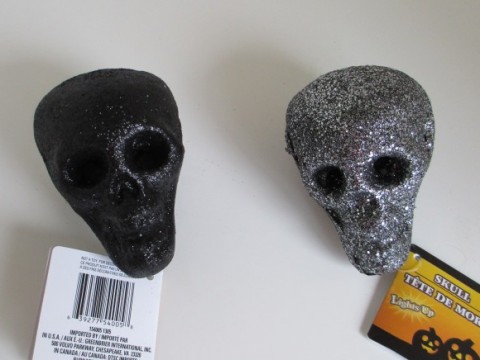
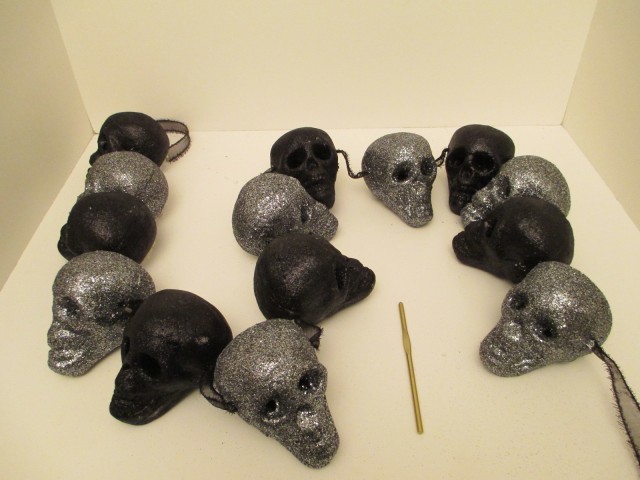
While at Dollar Tree, I picked up these little sparkle skull heads, you know how I get hypnotized my all things shiny. Oh … and these light up too!
If you remember, I used these little guys on my front door wreath.
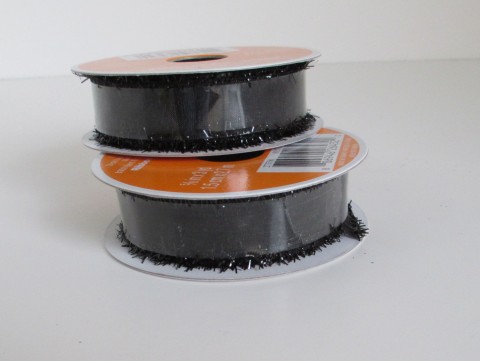
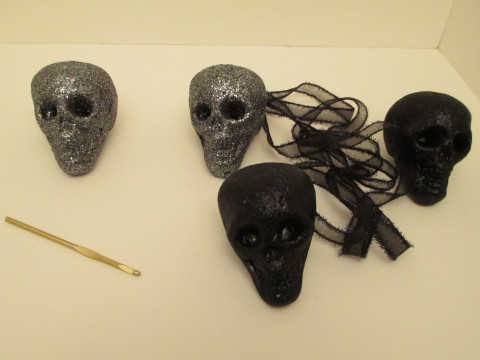
I decided to make a Halloween garland, and all you need are 14 of the skulls, a roll of ribbon, and a crochet hook — at least I think this is a crochet hook anyway — I have never crocheted in my life, but I found them in a sewing box that I inherited from my grandmother, so if this isn’t what this is somebody please tell me.
So until I figure this out, lets call it a whatchamacallit.
First take your whatchamacallit and poke it through the temples of your skull, in one side and out the other (that might be one of the Top 10 Strangest Sentences I’ve Ever Written).
This is easy to do since the skull is made from Styrofoam. Once you get it though, loop your whatchamacallit around your ribbon and pull it though.
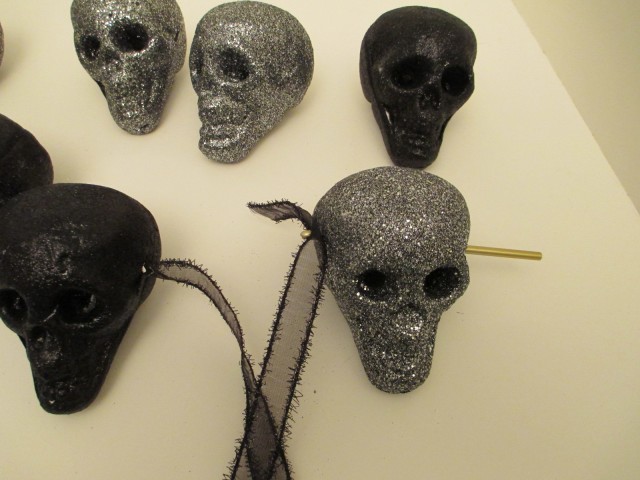
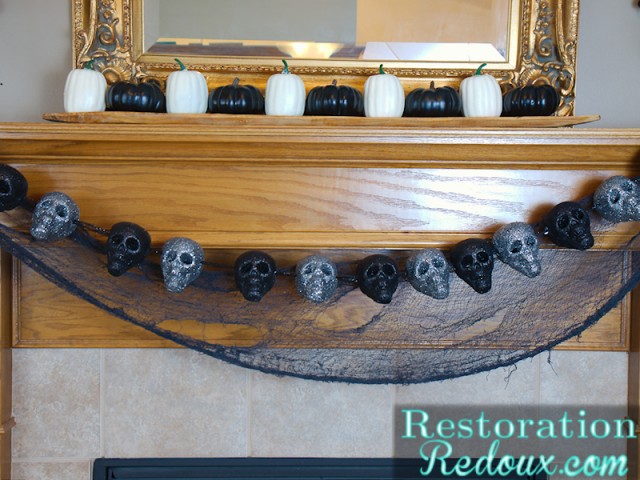
Keep repeating this process, sliding the skulls down the ribbon as you go along. That my friends is it. Nothing else. The only thing to keep in mind is to be consistent and always jab your skull from same direction; otherwise, you end up with some of the faces looking backward.
Hang that sucker up. I didn’t even pin mine up. I just sat the ribbon under a couple of heavy books.
Easiest Halloween craft ever.
Here is the list of my other blogger friends that are on the tour with me! Head on over to their houses, and while you’re there, tell them Shanna asked you stop by!
Please visit the following Blogs on these days:
Wednesday, Oct 9th:
Thursday, Oct 10th
2) Debbiedoo’s
Friday, October 11th
2) Circa-1929
Don’t forget to sign up for the Celebrate Fall Giveaway! You could win a $300 Giftcard to Target, Visa or Michael’s!
Love it!!
SOOOOo cute! Don’t you just love Halloween.
If this is a taste of what’s to come, I think it’s going to be spook-tacular :). Love your skull garland. Can’t wait to see the rest!
What a scarily easy and super cool project, whatchamacallits and all!! Can’t wait to see the tour:)
I LOVE the Dollar Store for decor. I used a lot of pieces this year from there. 🙂
http://www.meli-dcreations.com/2/post/2013/10/fall-decor-at-the-meli-d-house.html
What a cool (and thrifty!) idea! Thanks for linking up to the “Get Your DIY On” Link up party! Be sure to come back Sunday at 7:00 PM if you have any more spooky outdoor décor!
Thank April! Thanks for hosting! I linked up again!