Happy Monday!
Over the past few weeks, I’ve been working on some large furniture projects and I wanted a little break to keep my sanity in tact. I decided I needed a little more Christmas spirit, so I cranked up the Christmas music and made a tree out of old book pages.
Let me warn you, it takes a bit of time: about 2 hours. If you are sitting watching Christmas movies by the fire, this is a fairly easy project — as long as you keep away from the fire.
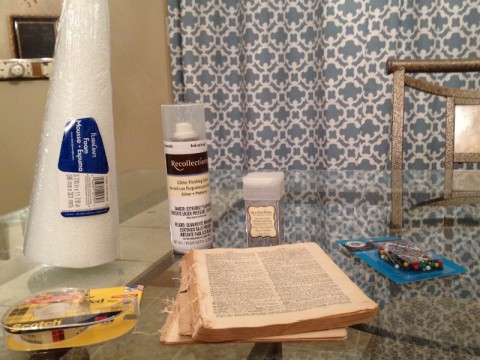
Some double sided tape, an old book (it doesn’t have to be too old but mine was the one I had left over from my bookpage wreath, some pins (I bought a pack of 100 but learned about halfway through I needed two packages), a can of spray glitter, a foam cone (they come in different sizes, mine was 12 inches tall), a pencil, and a star (or whatever you choose for the topper). I also got some loose silver glitter for a little extra sparkle but not a requirement.
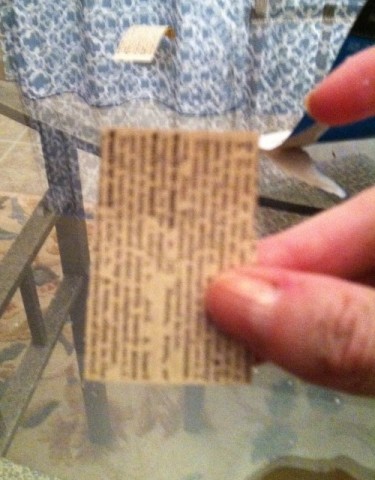
First, you cut your pieces of book pages. I cut it into one to two inch vertical strips. The smaller your strips the longer this project takes to do (trust me I know).
You then take your piece of paper and wrap it one and a half turns around a pencil. (Do not look at the nasty fingernails that have been sanded down past the quick while distressing an armoire).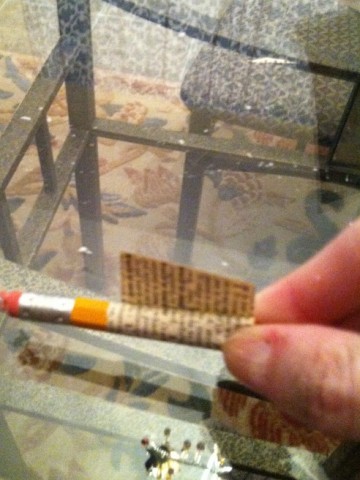
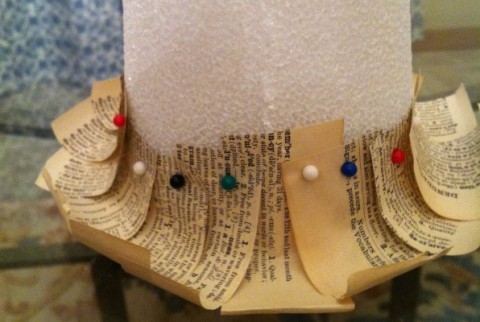
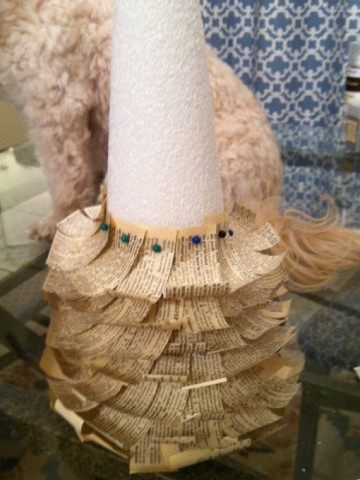
Then pin your strips all along the bottom of your cone, overlapping a bit.
Then keep adding rows, making sure to cover the pin heads.This process takes a while but isn’t hard to do. And yes that is a dog sitting on the kitchen table … Gracie was helping me (don’t judge).
Here’s the real tricky part: Before you put on your final row, take your double stick tape and cover the exposed area on the top of your cone. Take two strips of paper (maybe 3 to 4 inches long) and lay one strip of paper going over the peak of the cone in one direction, and the other going in the other direction (like a plus sign). From there take your double stick tape and circle the very top of the cone (not on the top of the cone but around the circumference of the cone) — I hope that makes sense. Then do one final row of strips, but instead of using the pin to attach it, it just sticks to the double-sided tape.
Then you just attach whatever type of topper you like. I bought a cardboard star ornament, coated it with the spray adhesive I had left over from my bookshelf makeover,and covered it with the loose glitter. I (meaning Topher) drilled a hole in the bottom and stuck a pencil in it, and then stuck the pencil in the top of the cone (any dowel-type rod would work, but a pencil was on-hand).
I then sprayed the whole tree with spray glitter (not necessary but who doesn’t want a glitzy tree?).
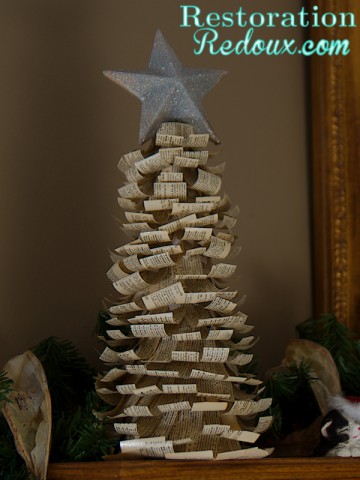
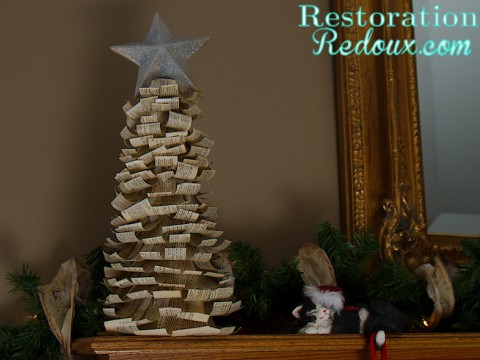
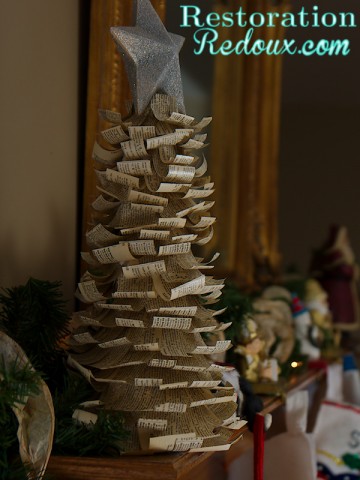
Here is the finished product:
In the picture the top strips are a little more curly than the bottom. They all look the same now, they were obviously the last ones attached and after they sit there a while they loose a bit of their curl.
I bought all of my supplies at Michael’s. Make sure you use your 50% off coupon in Sunday’s paper.
I thought this project turned out cute, and it would be a great and inexpensive Christmas gift!
Very cute! I had a guy at church ask for feathers from my chickens to do this..this is very cute! Great job Sweetie♥
Thanks Brenda!
You are something else girl friend!
Nicely done!
Is so fun to see what you come up with!
Thanks Joy!
Thanks Joy! Have a Merry Christmas!
Visiting from Homemaker on a Dime. Love your trees, totally charming! Merry Christmas!
Jeanette@creatingalifenow.blogspot.com
Shanna…super fun! Way to put an old book to good use!
Beautiful! Great job!
Pretty and whimsical. Thank you for linking ‘m up at our linky party at http://www.finecraftguild.com
I love this tree! Great tutorial…the directions are perfect! Karin
Hi Shanna, The tree is adorable! Thanks for joining the Open House party and Happy Holidays.
I love this little tree, so sweet 🙂
It’s lovely–definitely worth the time 🙂
love it. Thank you for sharing at the hop, Merry Christmas xo
I love this idea!
So pretty!
Featuring it tonight.
Thanks for linking up!
Stacey of Embracing Change
Super cute idea, and simple to boot! We loved it, thanks so much for linking. You are featured this week at Ivy and Elephants. Please stop by and grab a featured button.
Hugs,
Patti
Cute, cute, cute! Thanks so much for sharing your tree at Christmas in July.
Thank you Betsy!
That’s a cute tree ‘ya got there. Thanks for linking it up.
Bliss
Thanks so much! Thank you for hosting!
Hello, just popped over from the Christmas party to pin this. Love it!
Jeanette
Thanks so much Jeanette!
I am definitely doing this during the holidays! I love book page crafts!!!
Your tree is so sweet and pretty. Pinned and will share on FB, too.
This is really lovely! will definitely be trying this!
Much love xxxx